Usage Guide
Learn how to use the Bynder DAM connector to select and manage digital assets in Sitecore Pages. This guide assumes the required templates and fields (plugin) have been configured — see Custom Field Types if you haven't done that yet.
Using the Bynder Field in Sitecore Pages
Once one of the seven base templates has been used, or a custom Plugin field has been configured on your component template, the Bynder field appears in the Sitecore Pages editor:
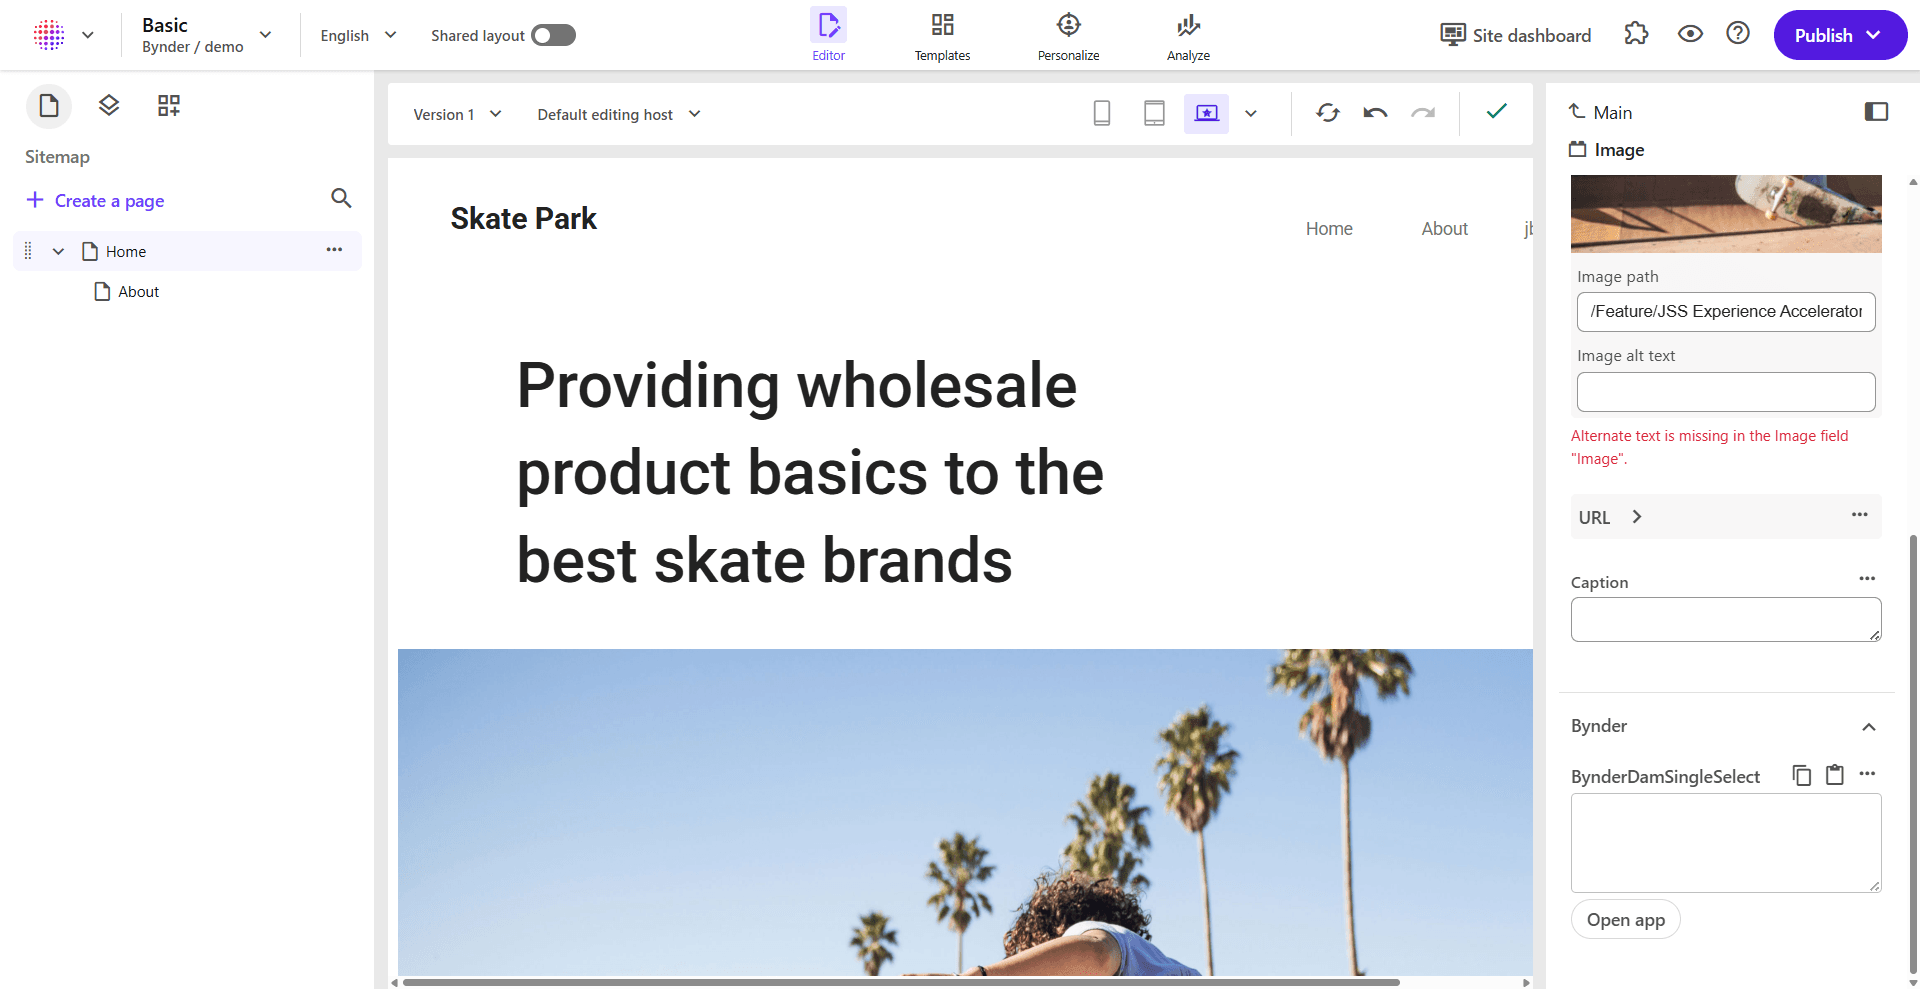
The Bynder section displays:
- BynderDamSingleFile field - The custom field you added to your template
- Open app button - Click to open the Bynder Asset Selector
- Selected asset preview - Once an asset is selected, it displays in the field
Selecting an Asset from Bynder
First Time Setup: Connect Your Bynder Portal
When you open the Bynder DAM connector for the first time, you'll need to connect your Bynder portal. The connector doesn't have the portal credentials stored yet, so you'll see the connection screen:
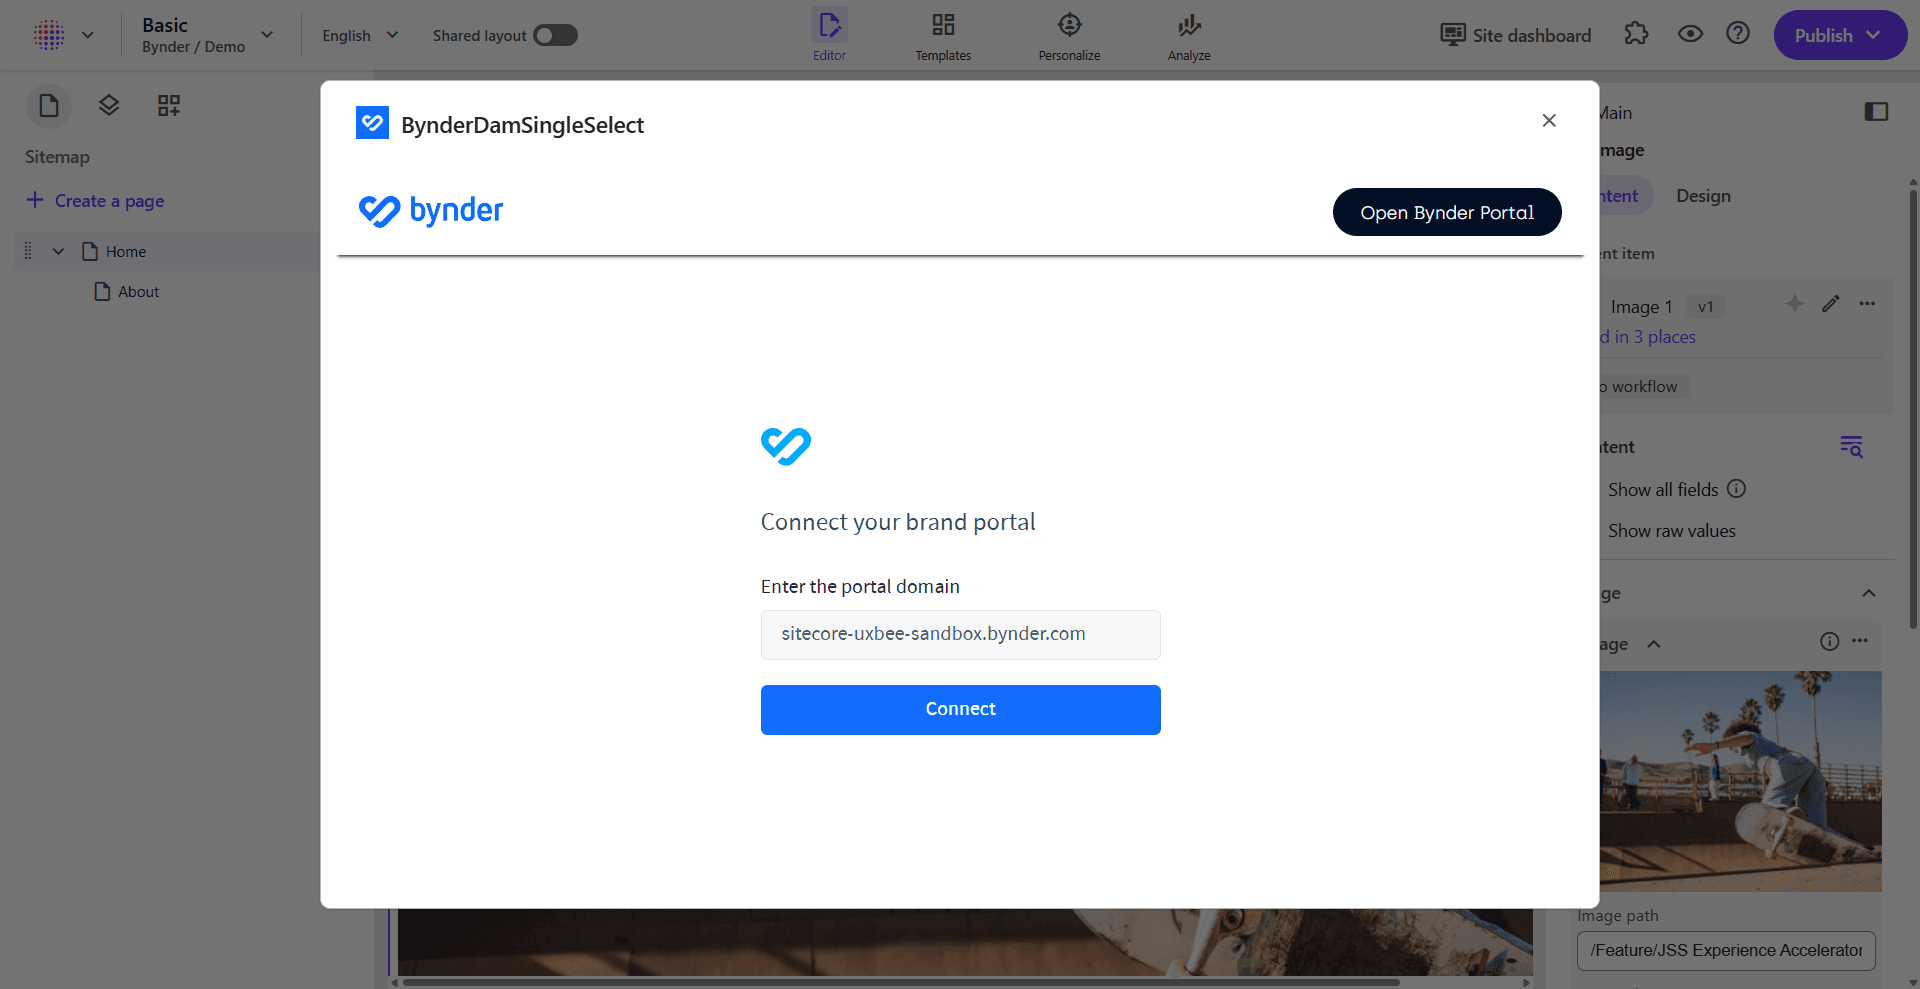
- Your Bynder portal domain should already be prepopulated in the input field. If not, enter it manually
- Click the Connect button
Login to Your Bynder Portal
After clicking Connect, a popup window opens displaying the Bynder portal login page:
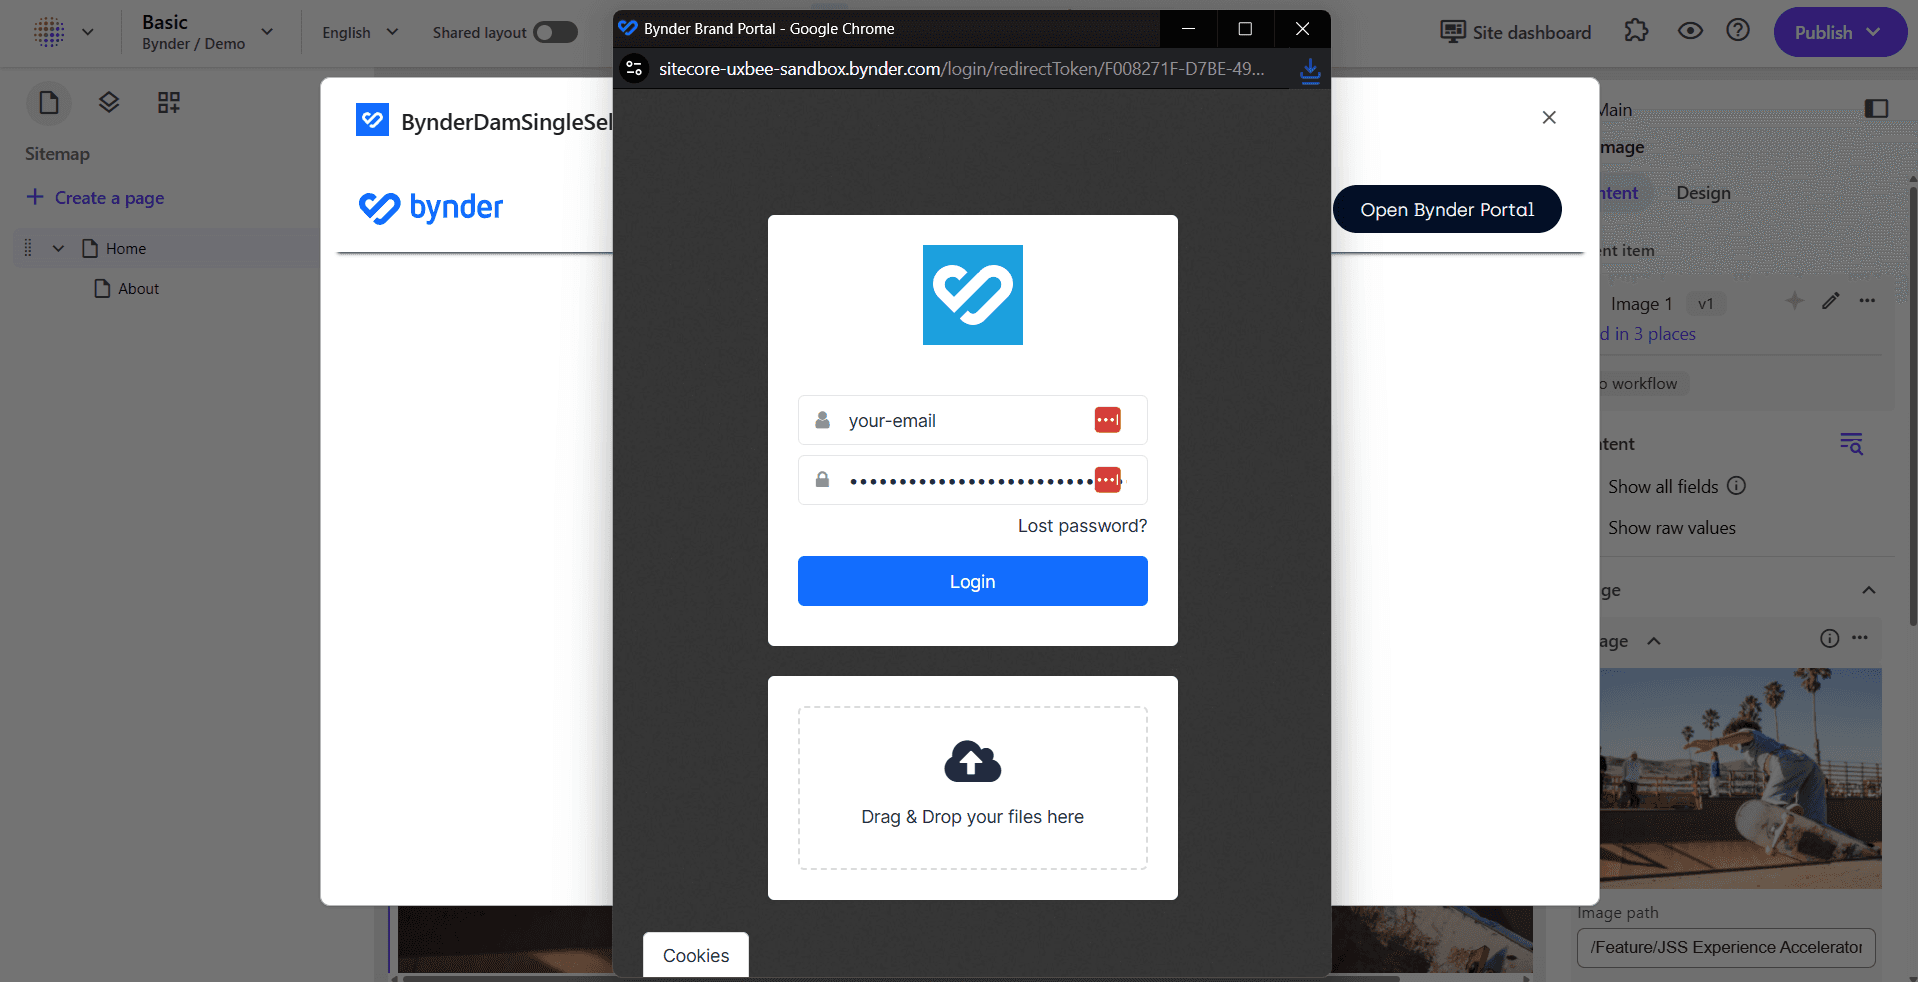
Enter your Bynder credentials to authenticate and access your portal assets.
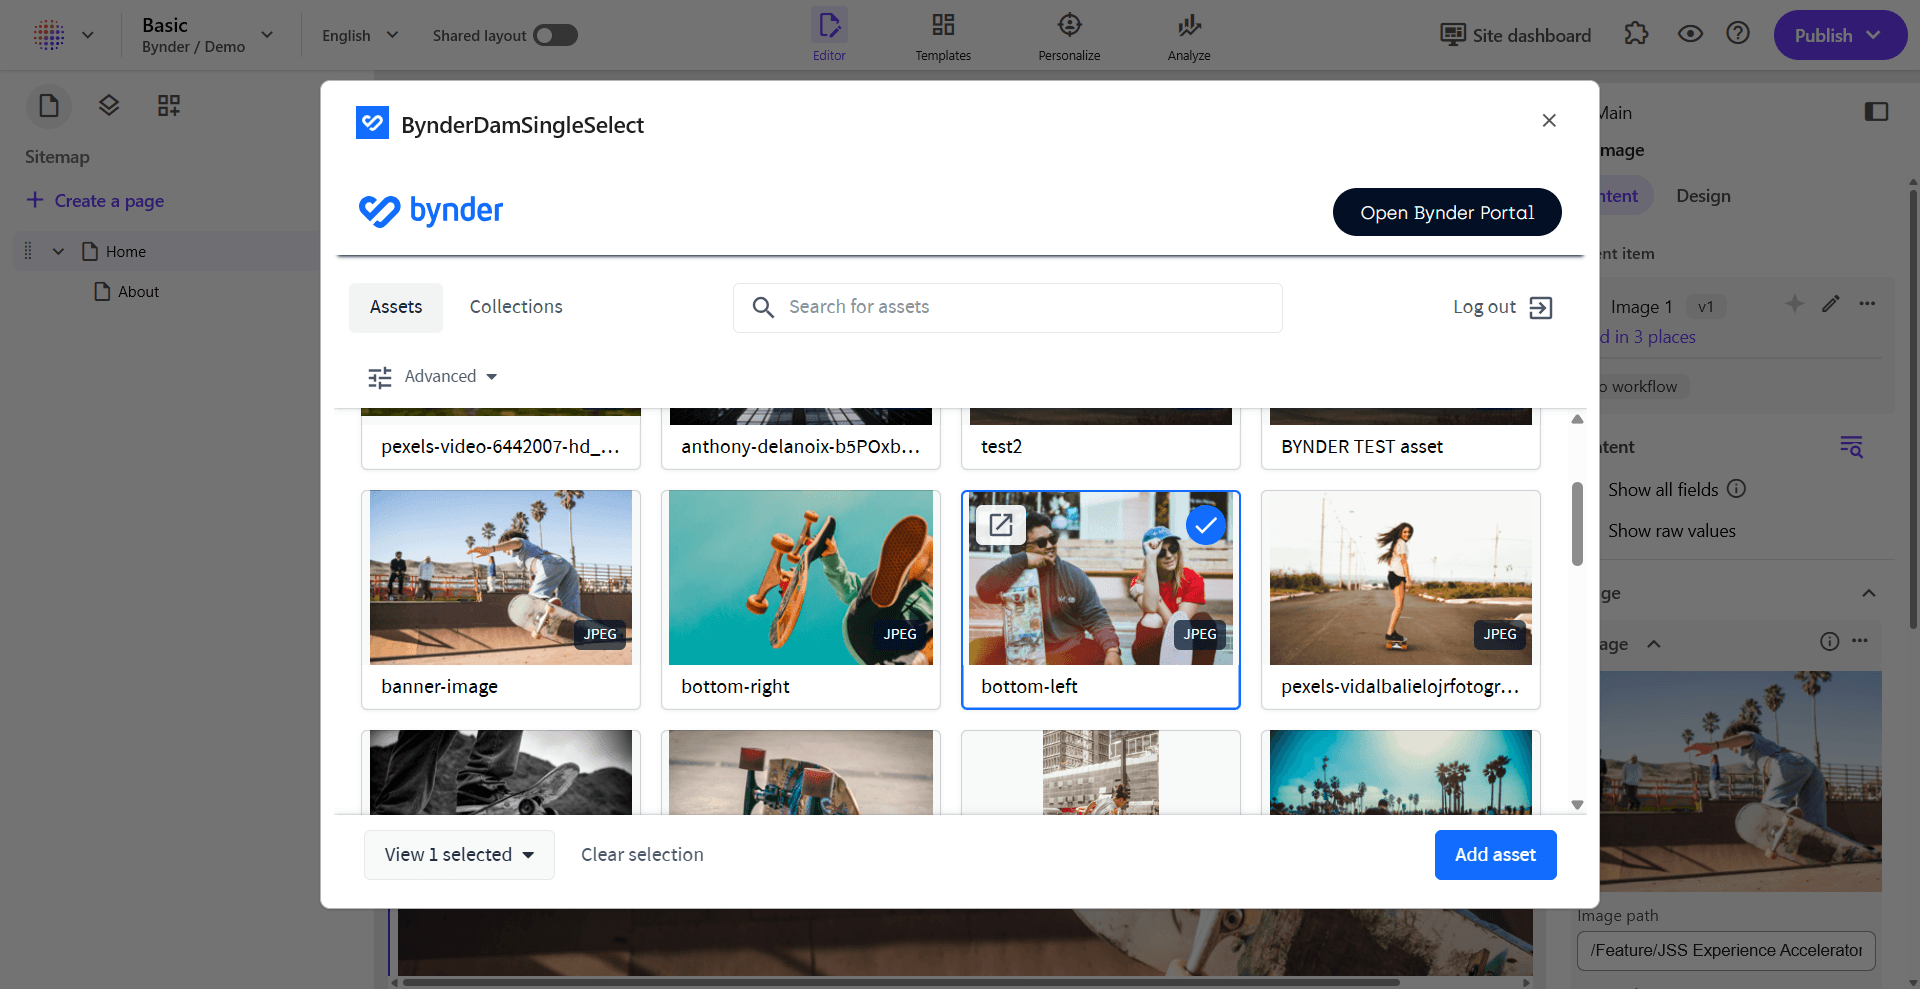
Browse and Select Assets
Once you're logged in, the asset selector displays all your Bynder portal assets:
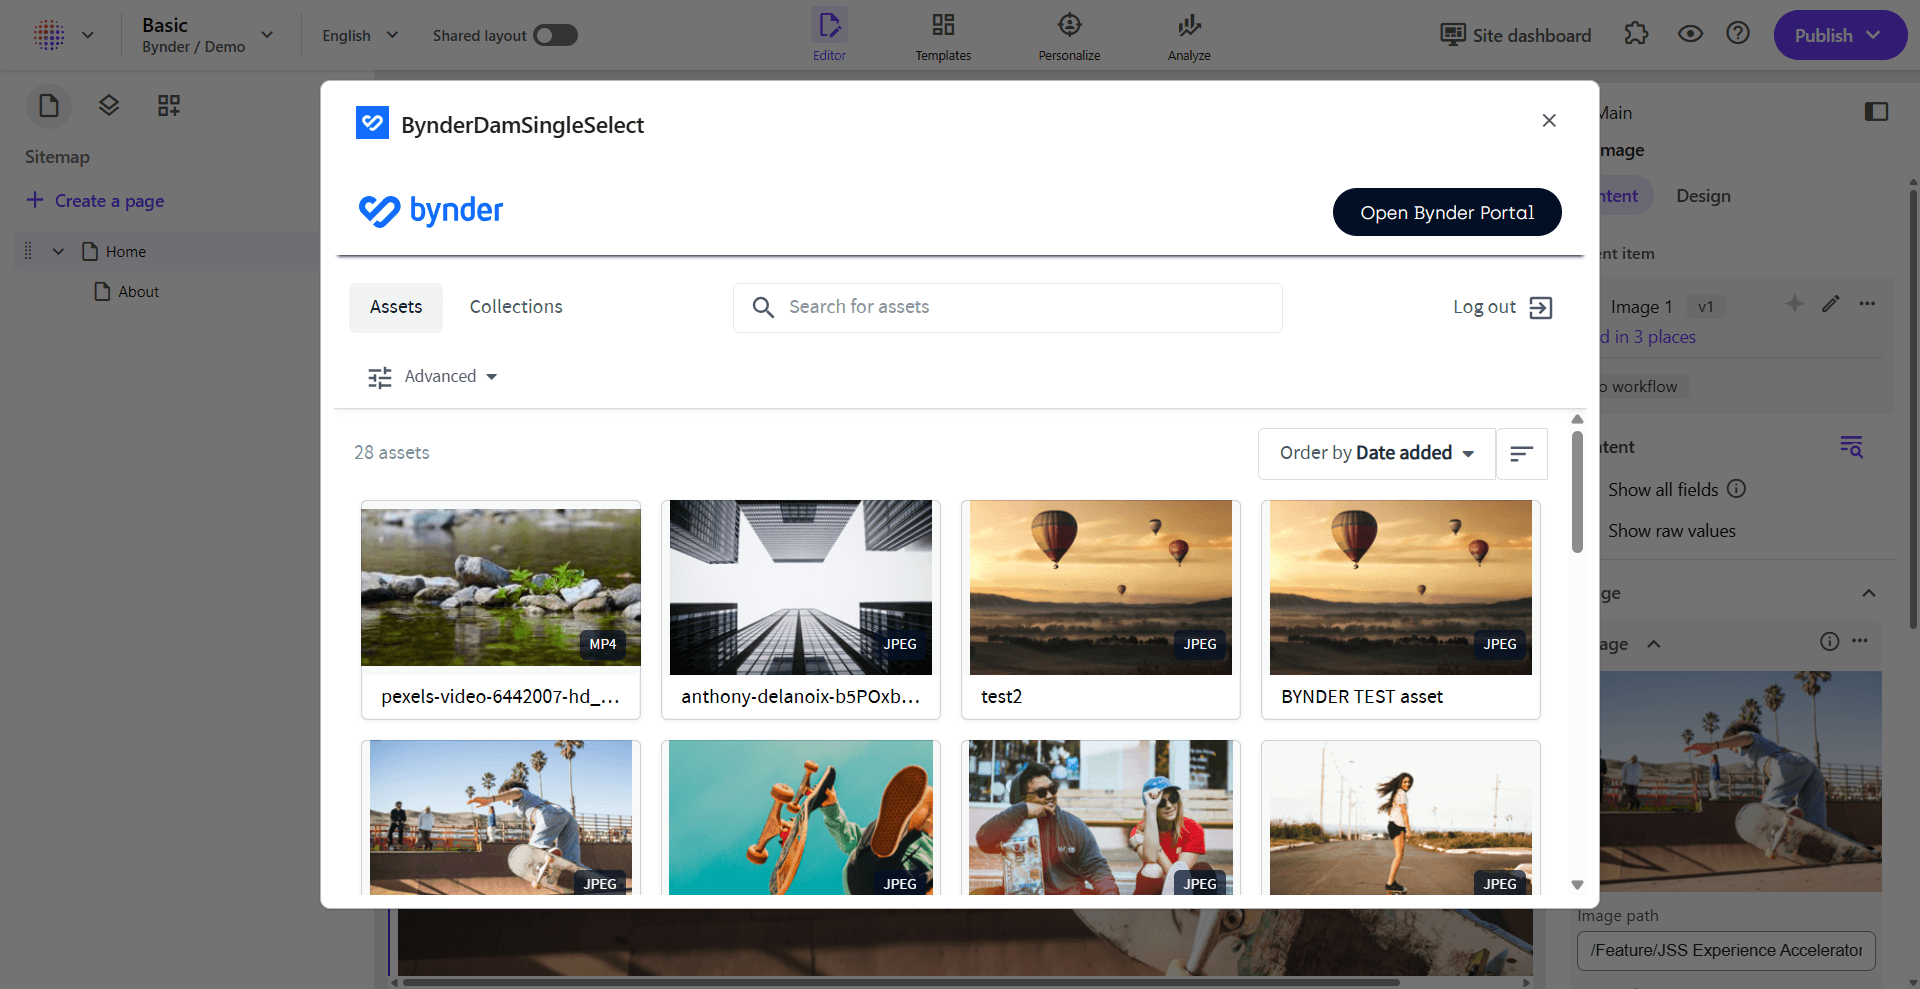
You can now:
- Browse through your available assets
- Use the search functionality to find specific assets
- Filter assets using the Advanced options
- Switch between Assets and Collections tabs
Add the Selected Asset
- Click on an asset to select it (indicated by a blue checkmark)
- Click the Add asset button at the bottom of the modal
- The selected Bynder asset properties and reference JSON are stored in the field value
- The modal closes and your component now has access to and can use that data to display the Bynder asset in the component. See Developer Integration for how to use the SDK.