Getting Started with Bynder DAM Connector for SitecoreAI
Install the Bynder DAM Connector through the SitecoreAI Marketplace.
Prerequisites
Before installing, ensure you have:
- Administrator or Marketplace Admin access to your SitecoreAI instance
- Valid API key available for connector configuration
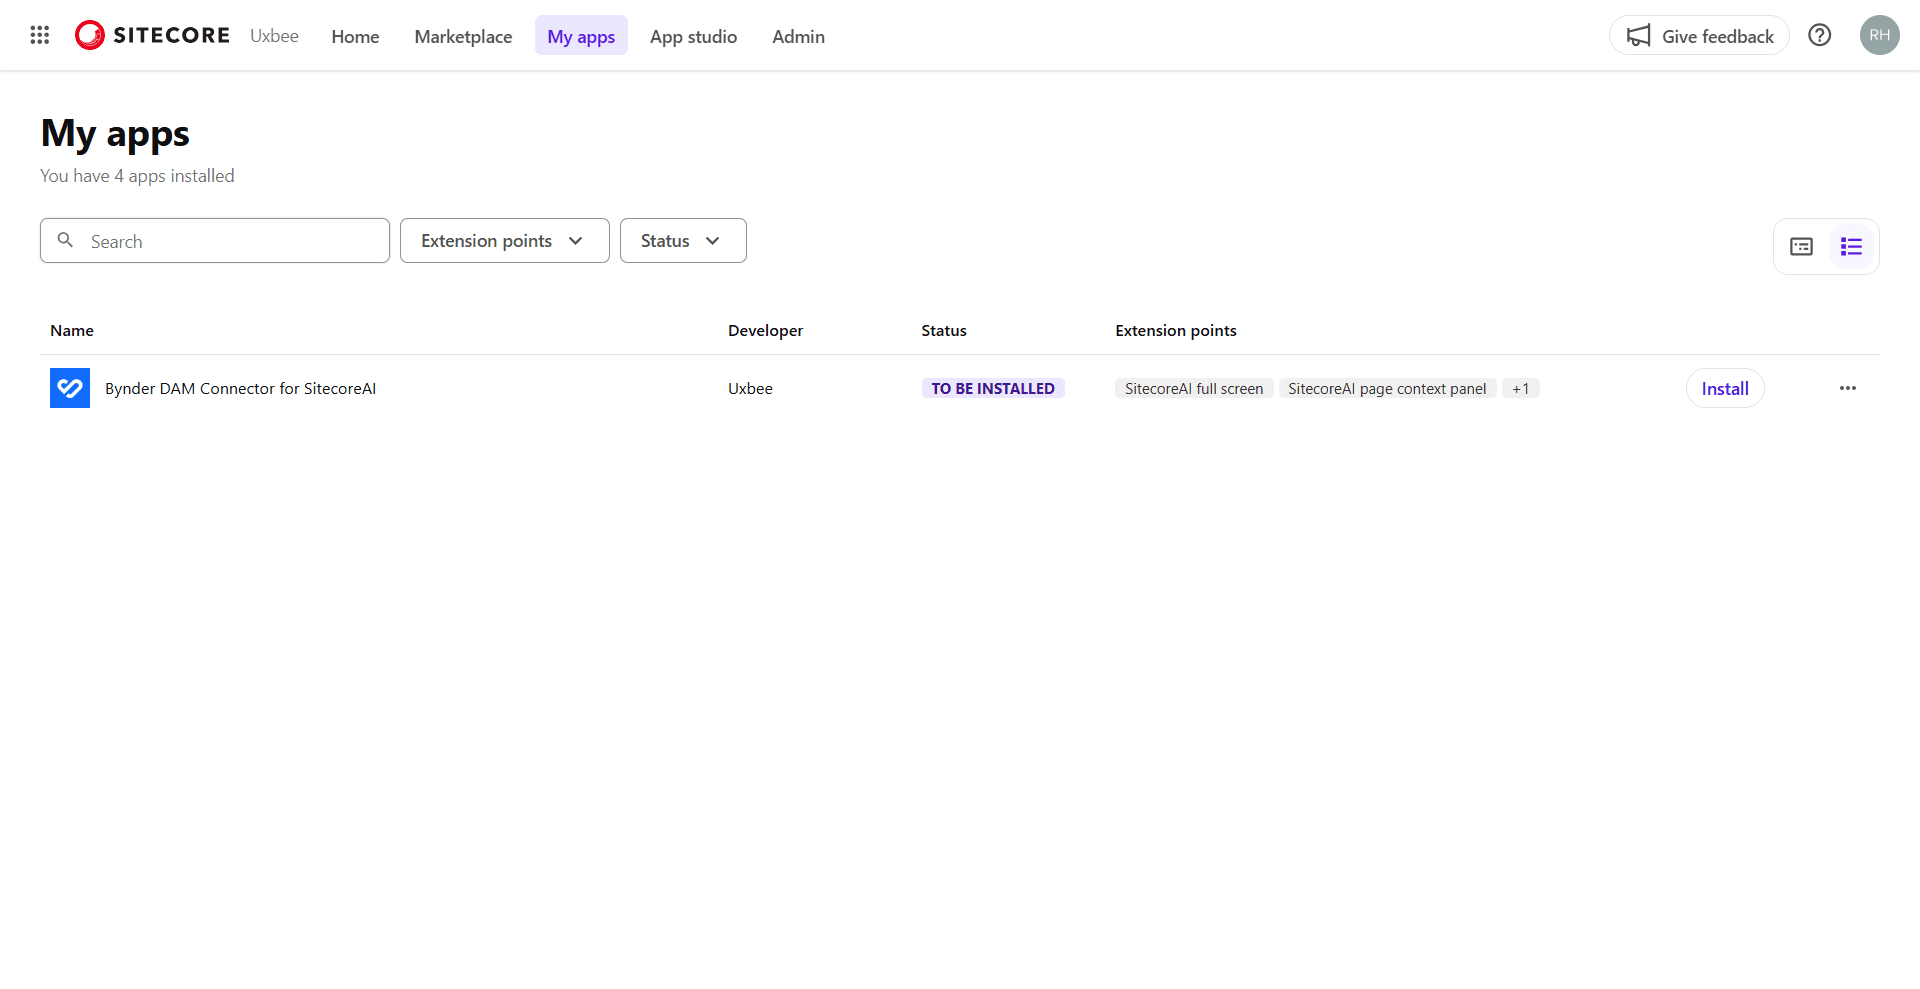
Installation Steps
1. Open the Marketplace
- Navigate to portal.sitecorecloud.io/marketplace (opens in a new tab)
- Browse available apps or search for Bynder DAM Connector for SitecoreAI
2. Install the App
- Click the Bynder DAM Connector for SitecoreAI app card
- Click Install button
3. Review and Accept Permissions
Review the API access and permissions required by the connector:
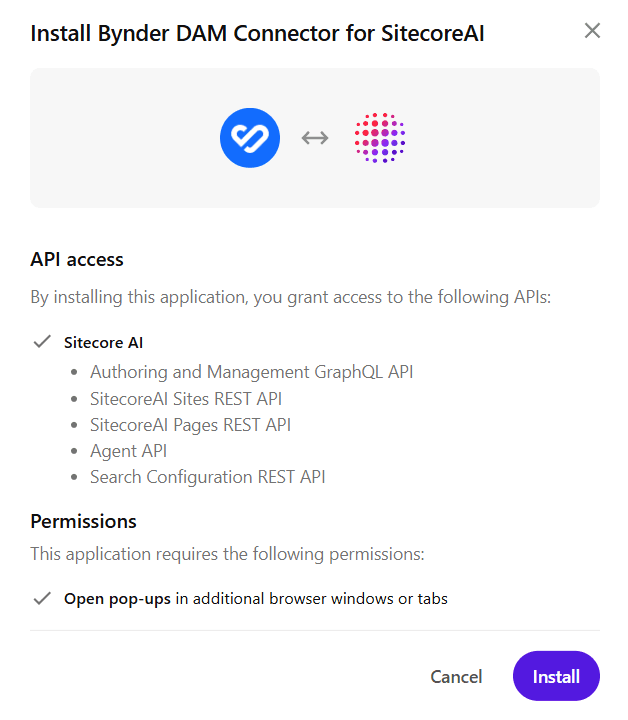
API Access:
- Authoring and Management GraphQL API
- SitecoreAI Sites REST API
- SitecoreAI Pages REST API
- Agent API
- Search Configuration REST API
Permissions:
- Open pop-ups in additional browser windows or tabs
Click Install to accept and continue.
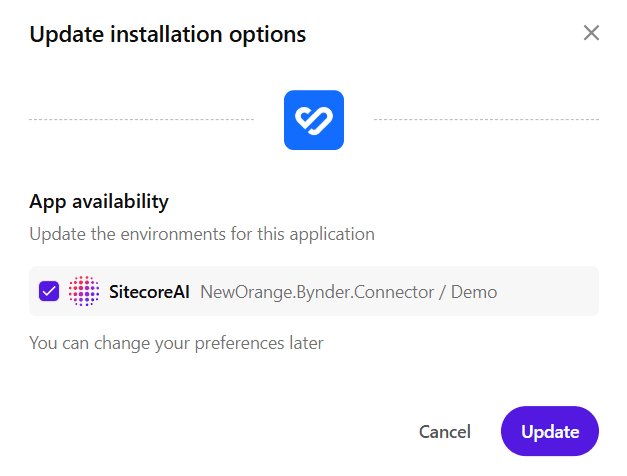
4. Select Environments
Select the SitecoreAI environments where you want to install the connector.
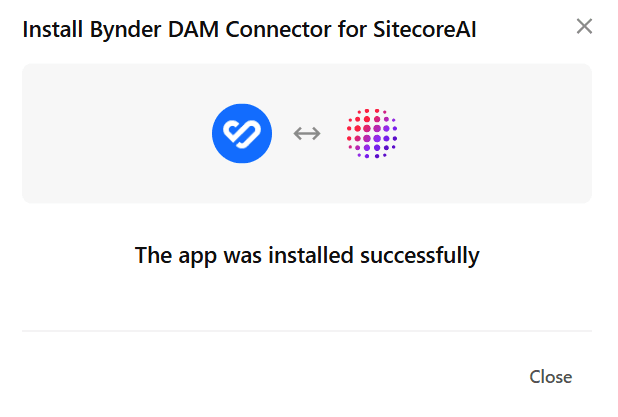
The connector is now installed in your selected environments.
What's Next
Once the connector is installed:
- Setup & Configuration - Configure the module and API key in Sitecore
- Usage Guide - Learn how to use the connector to select assets
- Migrating from XP/XM Connector to SitecoreAI Connector - Migrate field models and component rendering from legacy XP/XM implementations
- Troubleshooting - Solutions for common issues