Usage Guide
Learn how to use the Bynder DAM connector to select and manage digital assets in SitecoreAI. Now that the required templates and configuration have been set up, you can start using the Bynder connector in two ways:
- Use the installed bd_BynderBaseSingleFile template - Add the BynderDamSingleFile field to your content items using the pre-configured bd_BynderBaseSingleFile template
- Add a custom field - Create a custom field of type Plugin with the Bynder marketplace connector ID to add asset selection to any your components
Configure Custom Plugin Field
Option 1: Use the Pre-Delivered _BynderBaseSingleFile Template
The connector includes a pre-built bd_BynderBaseSingleFile template with the BynderDamSingleFile field already configured. See What Gets Created for more details about this template.
- When creating a new template or content item, base it on the
bd_BynderBaseSingleFiletemplate - The BynderDamSingleFile field is automatically available
- You can now select assets directly in your content
Option 2: Add a Custom Plugin Field
To add the Bynder asset selector to any existing page or component template:
- Open your template in the Content Editor
- Add a new field of type Plugin
- In the Source field, reference the Bynder DAM Connector for SitecoreAI Marketplace App ID
- Save the template
- The Bynder asset picker is now available for that field
Using the Bynder Field in Sitecore Pages
Once you've added the BynderDamSingleFile field to your component template, it appears in the Sitecore Pages editor:
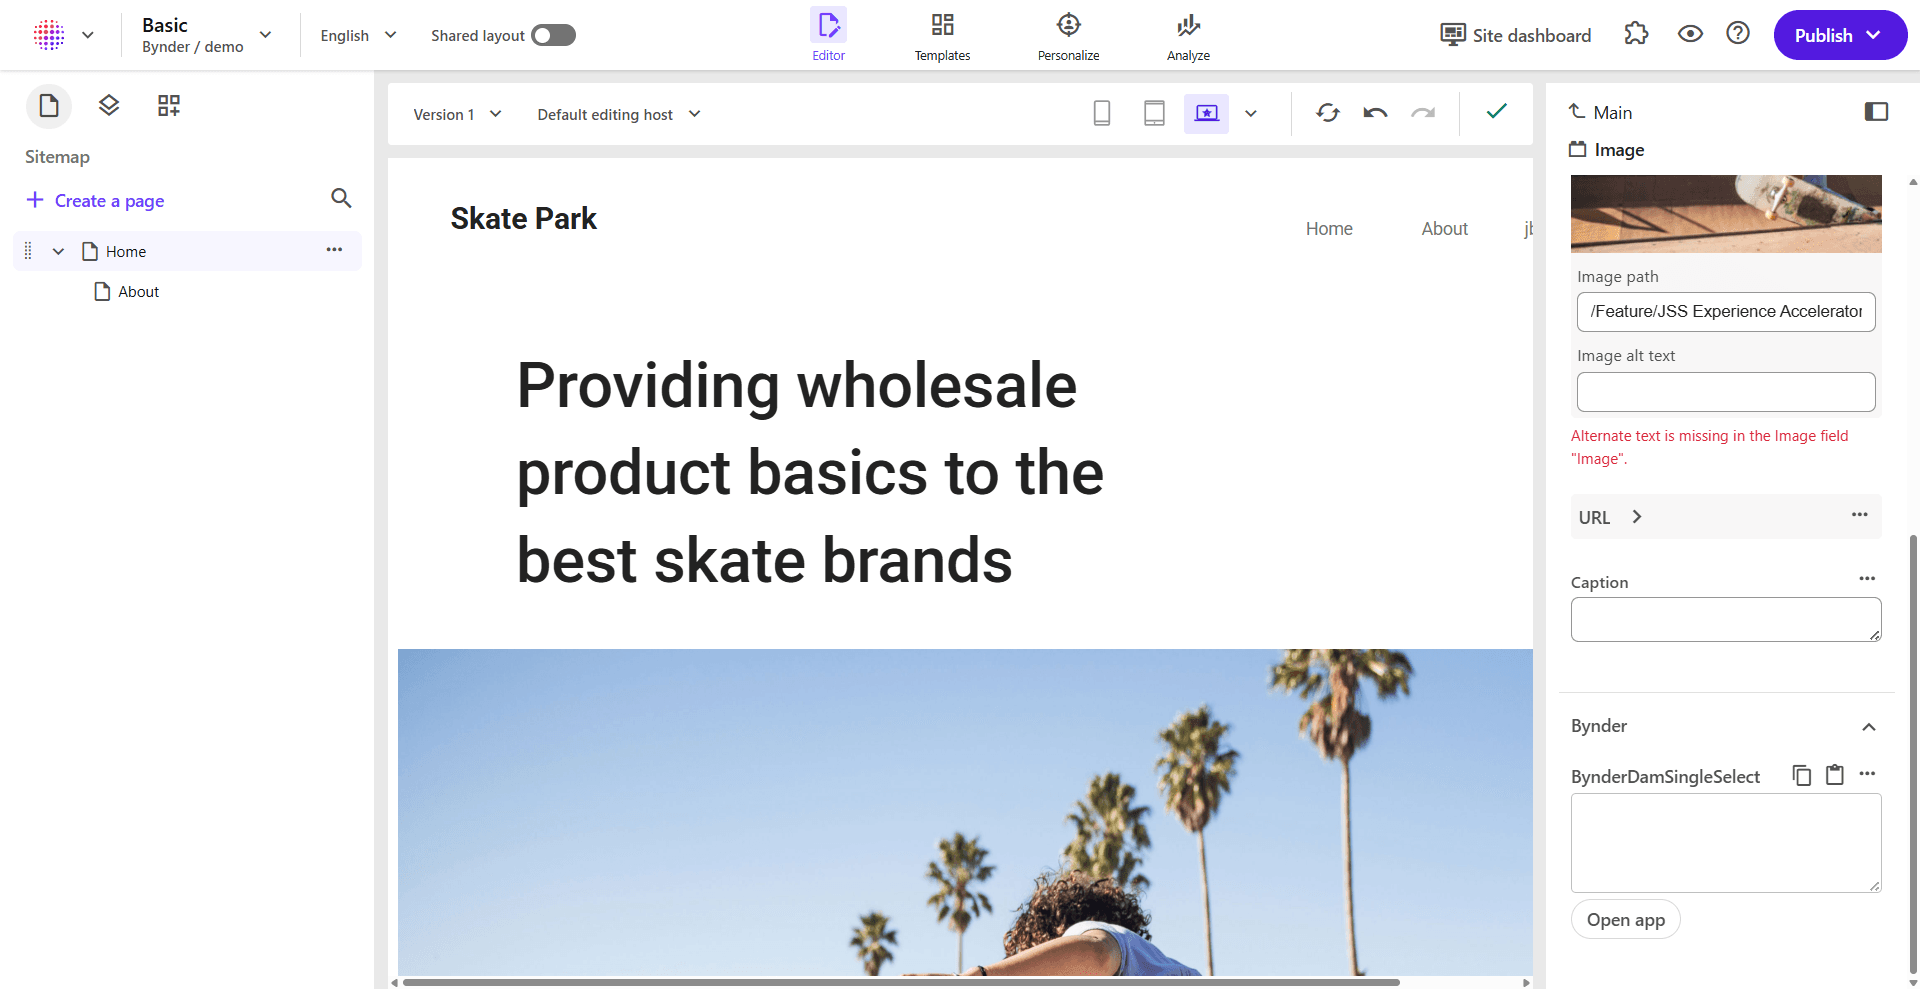
The Bynder section displays:
- BynderDamSingleFile field - The custom field you added to your template
- Open app button - Click to open the Bynder Asset Selector
- Selected asset preview - Once an asset is selected, it displays in the field
Selecting an Asset from Bynder
First Time Setup: Connect Your Bynder Portal
When you open the Bynder DAM connector for the first time, you'll need to connect your Bynder portal. The connector doesn't have the portal credentials stored yet, so you'll see the connection screen:
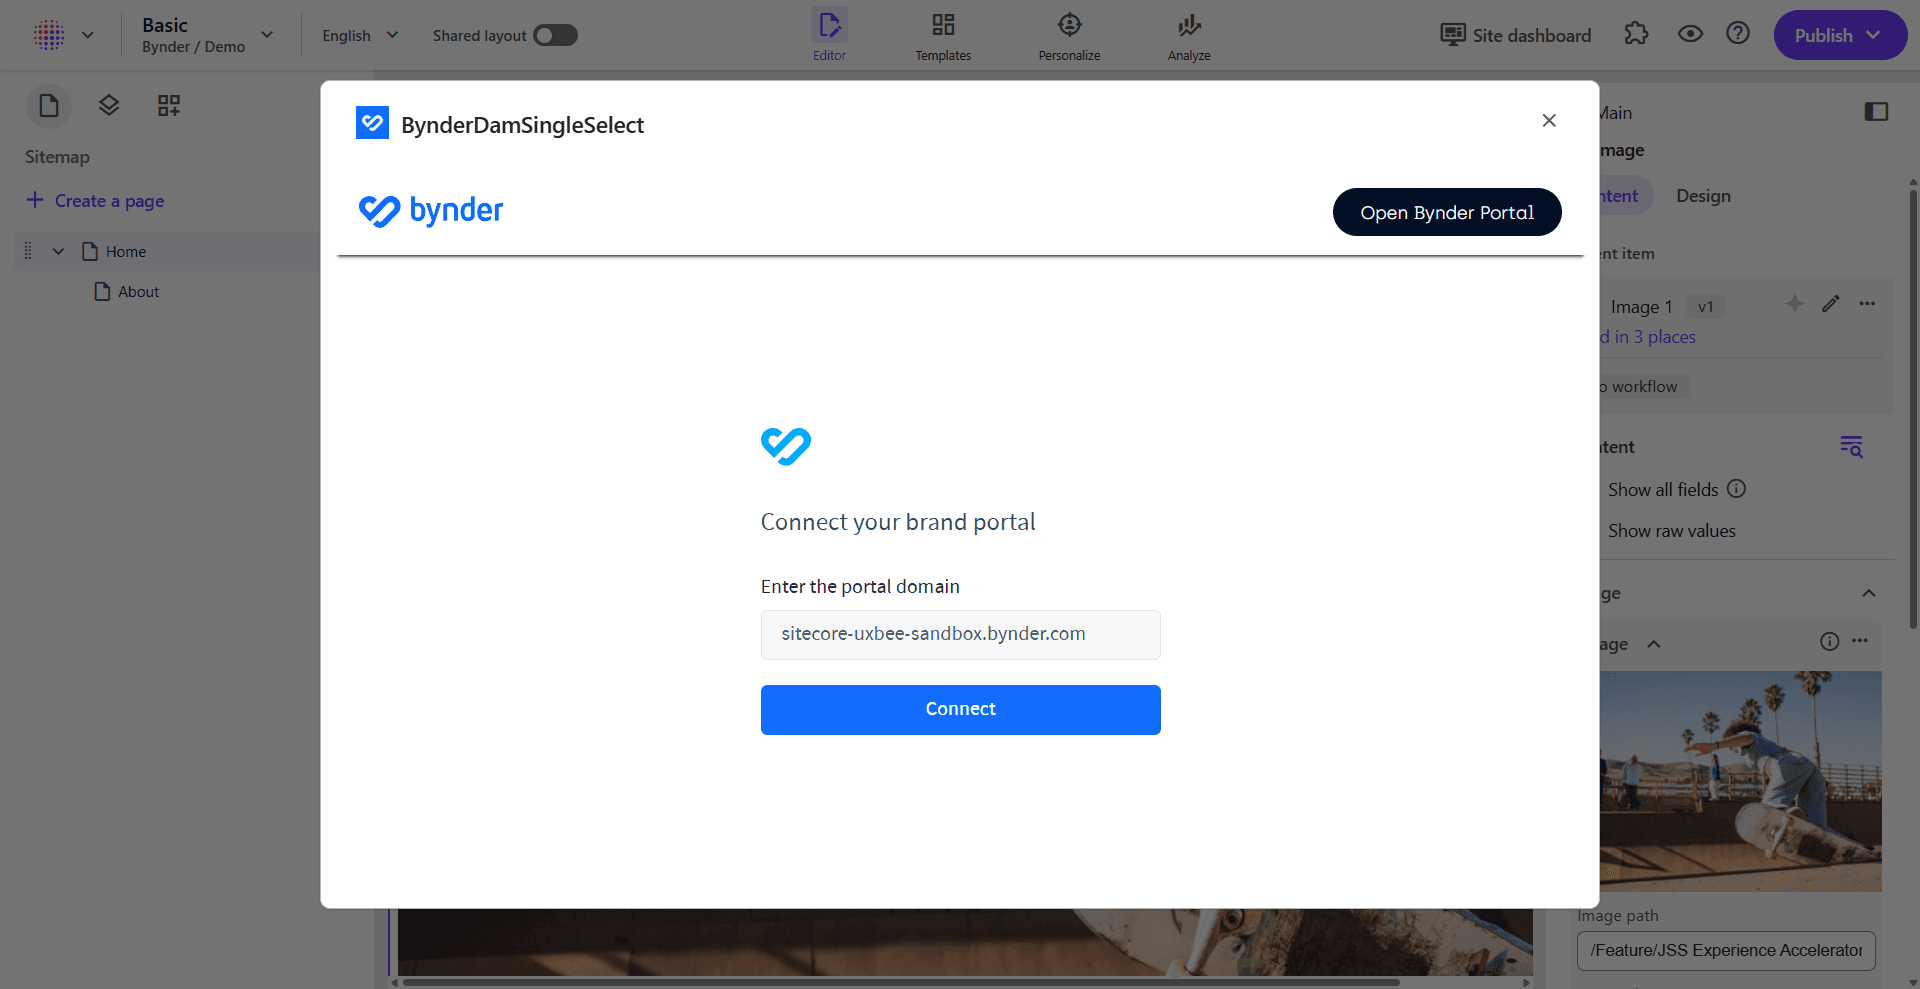
- Your Bynder portal domain should already be prepopulated in the input field. If not, enter it manually
- Click the Connect button
Login to Your Bynder Portal
After clicking Connect, a popup window opens displaying the Bynder portal login page:
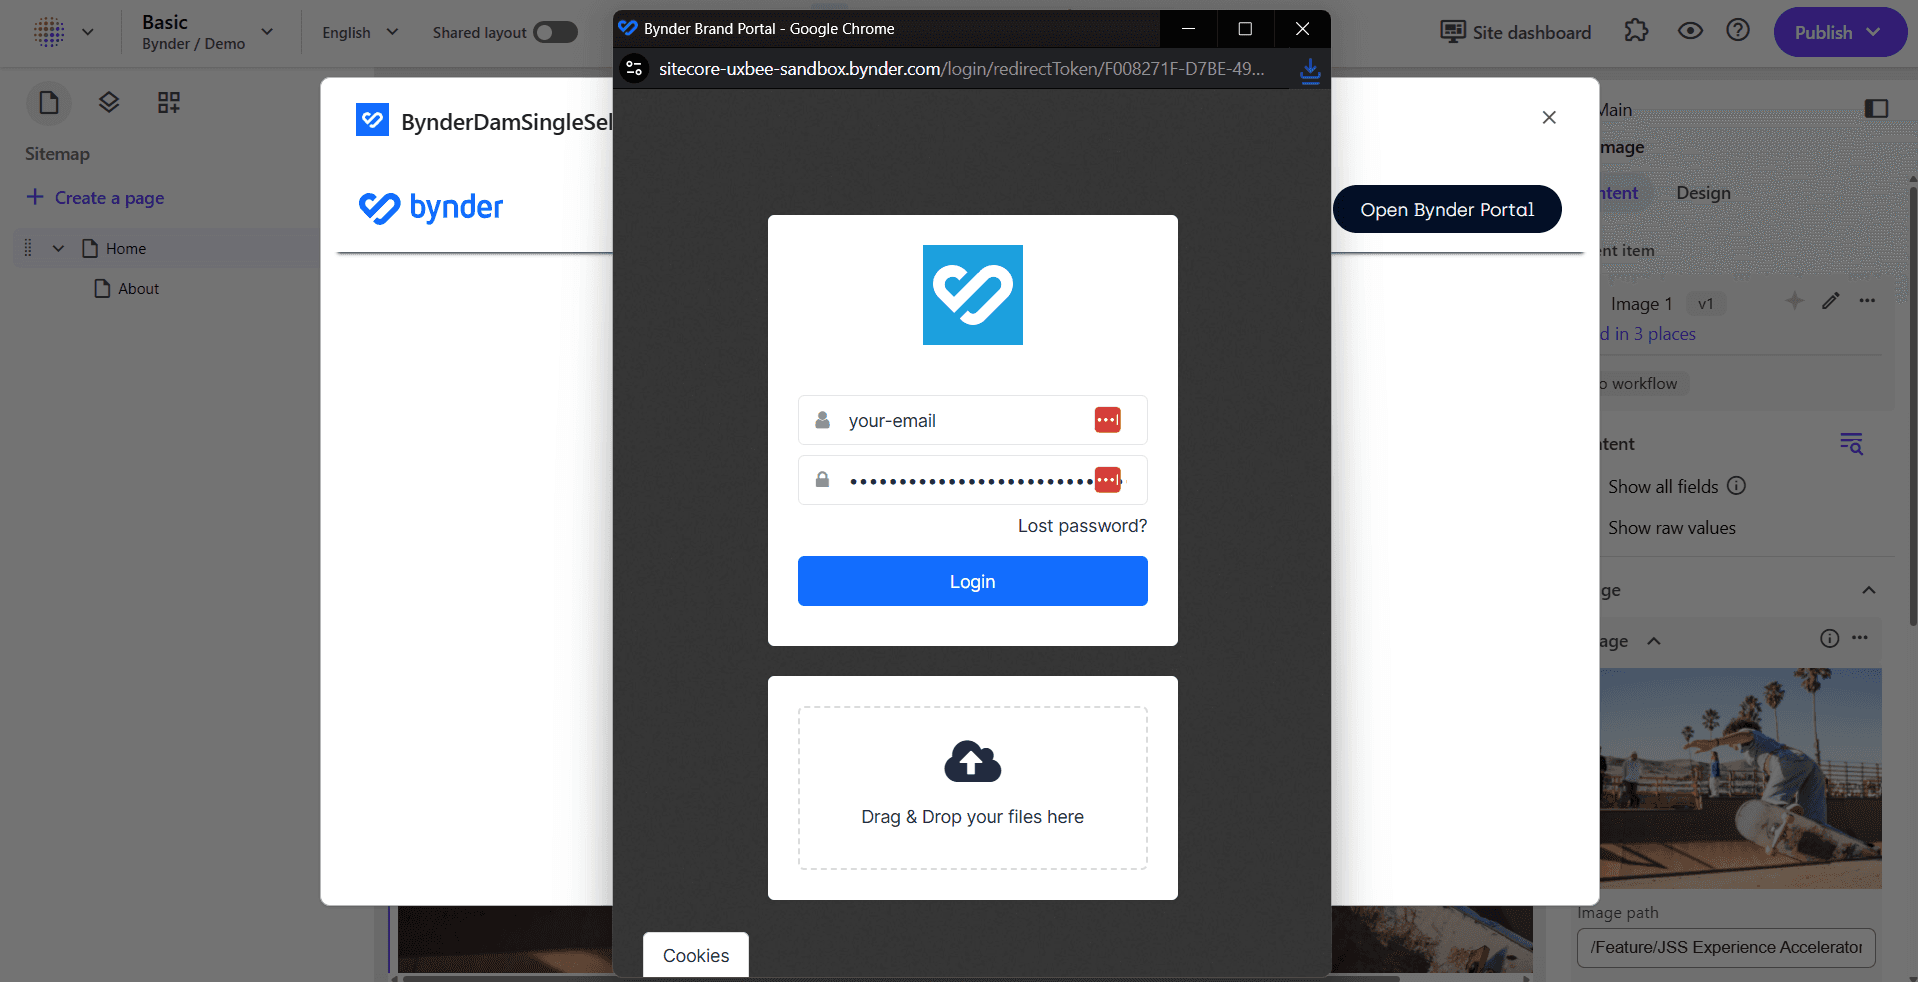
Enter your Bynder credentials to authenticate and access your portal assets.
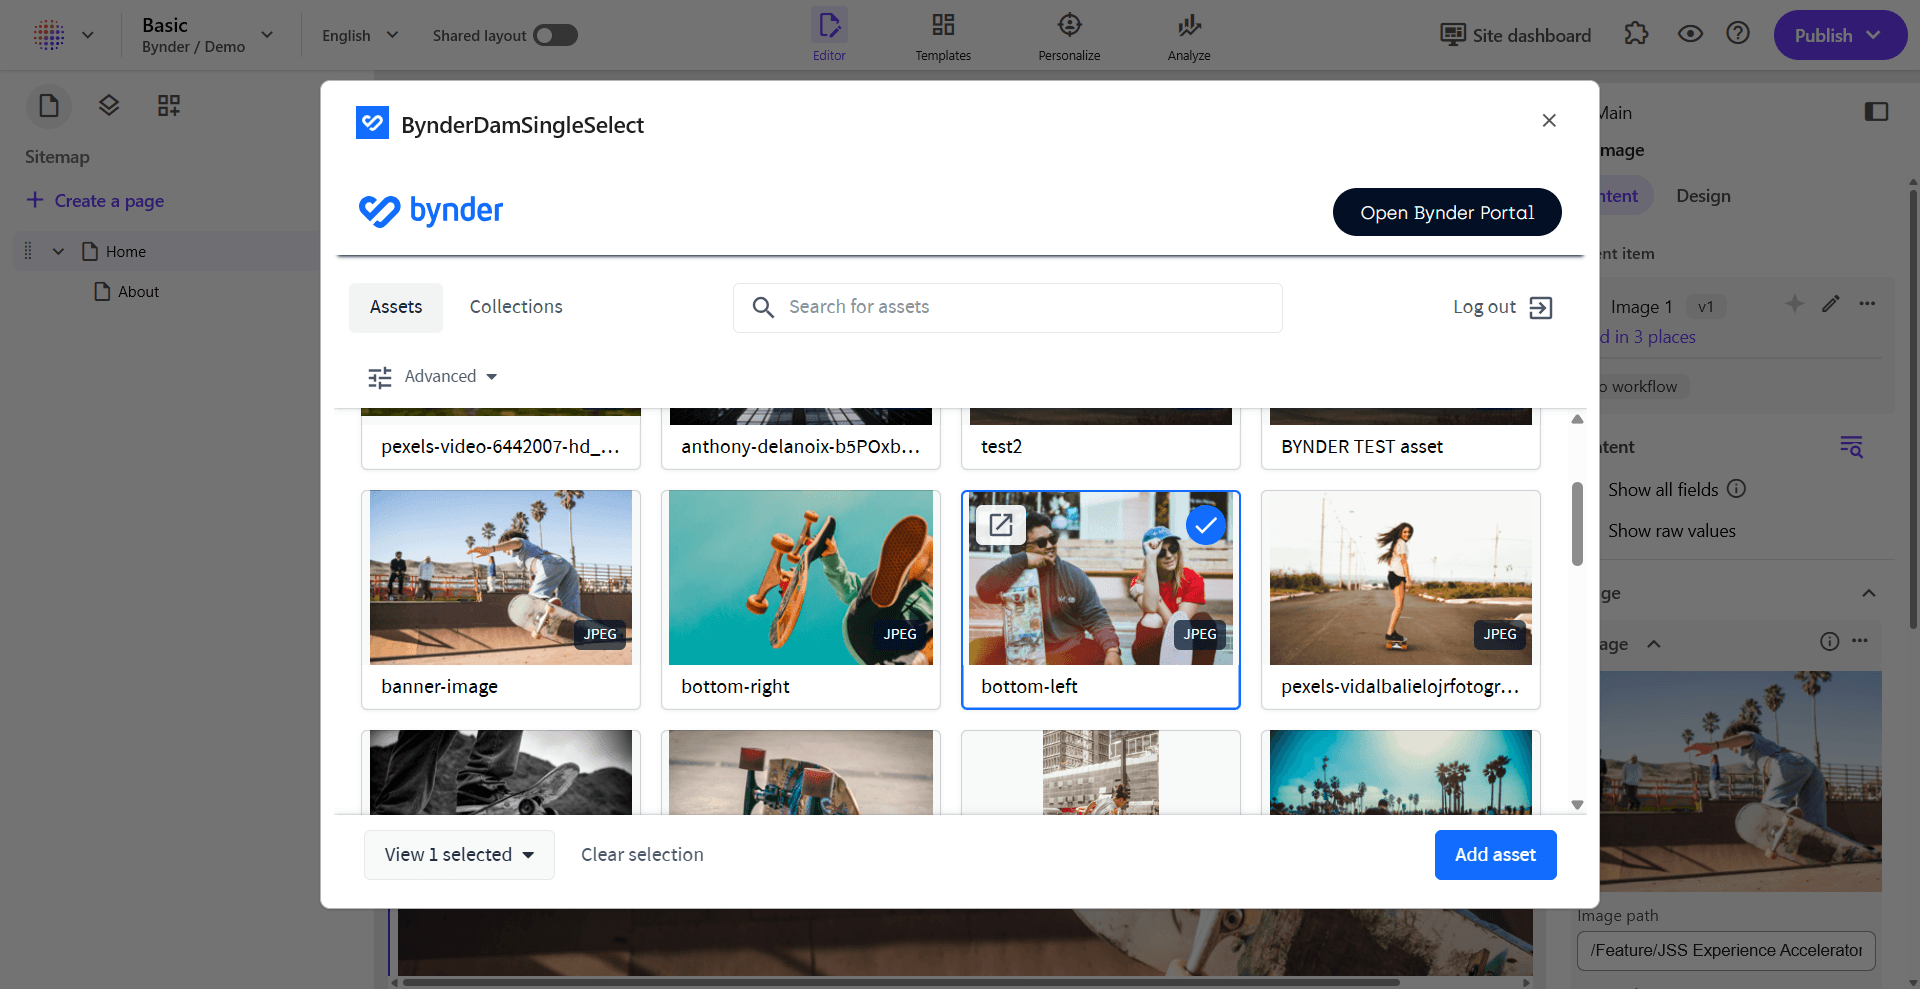
Browse and Select Assets
Once you're logged in, the asset selector displays all your Bynder portal assets:
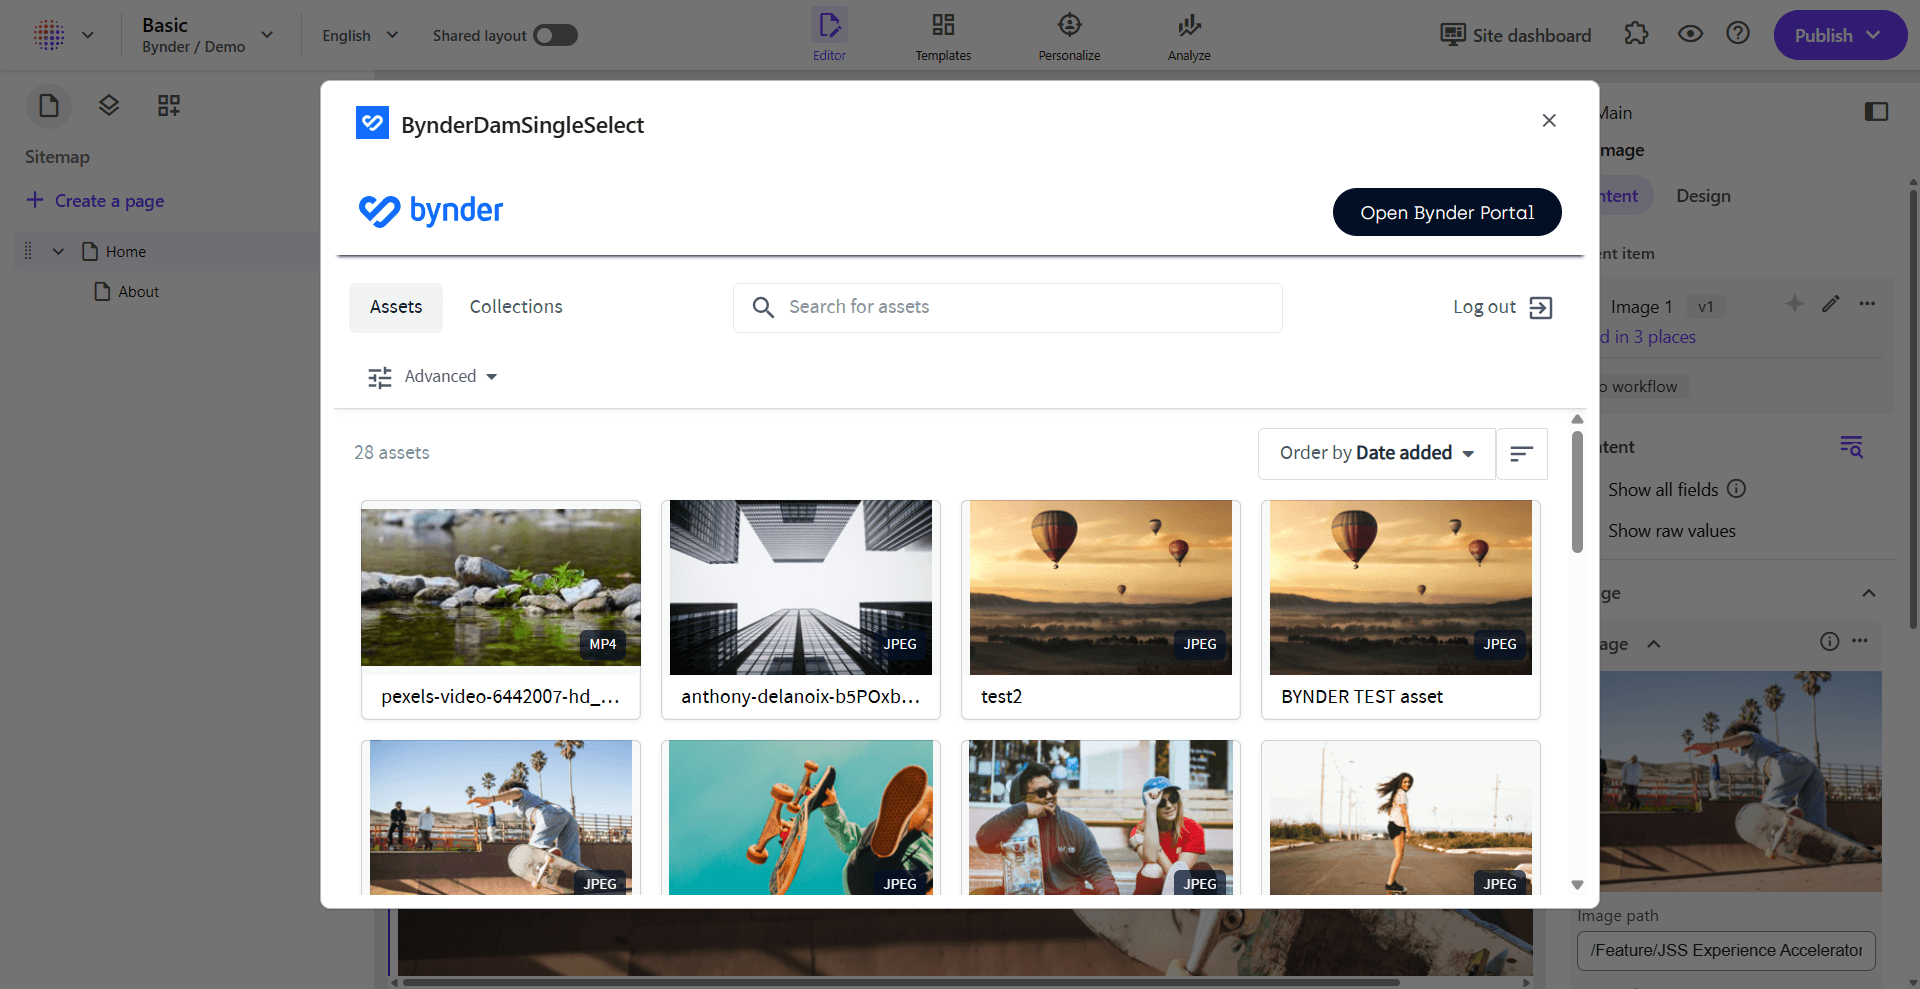
You can now:
- Browse through your available assets
- Use the search functionality to find specific assets
- Filter assets using the Advanced options
- Switch between Assets and Collections tabs
Add the Selected Asset
- Click on an asset to select it (indicated by a blue checkmark)
- Click the Add asset button at the bottom of the modal
- The selected Bynder asset properties and reference JSON are stored in the field value
- The modal closes and your component now has access to and can use that data to display the Bynder asset in the component. See Developer Integration for how to use the SDK, or check out the SDK website (opens in a new tab) for detailed examples